3 Browning Trail Camera Settings to Use This Deer Season
Being an avid whitetail hunter here in Midwest Wisconsin, Browning Trail Cameras have been crucial in my success. Chasing whitetail patterns and the changes in them some may say is a sickness. With that being said, utilizing your Browning Trail Camera settings is crucial in your success. The top 3 settings I use are as follows:
Timelapse Plus
This mode is great when trying to find those entrance areas into fields, food plots or any other open area. This setting allows you to gain great intel as to where and when animals are entering an area without being inside the detection zone of your camera. This setting is adjustable, just like all the other settings on the Browning cameras. If you are using the Timelapse feature on your camera, it will still take a picture if an animal walks within the trigger area. This way you won’t miss anything! I use this setting in the summer mostly, but it can obviously be used anytime you need to cover a large area.

Video
(Trail camera video from Chris Gibson.)
This is my go-to when it’s go time! During the pre-rut and rut I switch most of my trail cameras to video mode. This allows me to gain some very important information on deer movements. Trail camera videos give you some extra intel on the deer activity that still images just can’t capture, such as:
- Being able to hear a tending grunt of a buck
- Watching a buck’s movements
- Seeing if a deer is just running or is Mr. Big chasing her/him?
- Is this buck just out for a stroll or is he on a mission for lust?
- Is a buck tearing the scrape open, or just leaving his number on the napkin?
This information can be the difference in going to work tomorrow or coming down with “a fever” and we all know what fever that is.
Standard 2-Shot
This is my primary setting for trail camera photos. This setting gives you a “double tap” every time the camera trigger is pulled.


Standard gives you great image quality and won’t fill your card up with multiples of the same image. With that being said you need to figure out the photo quality you’re looking for to couple with this setting. The greater the image quality = fewer pictures on your card. If you’re going to let your camera soak in a spot for an extended period of time and don’t have a larger SD card to toss in, like a 312 GB card, decrease your image quality to gain space for more quantity.
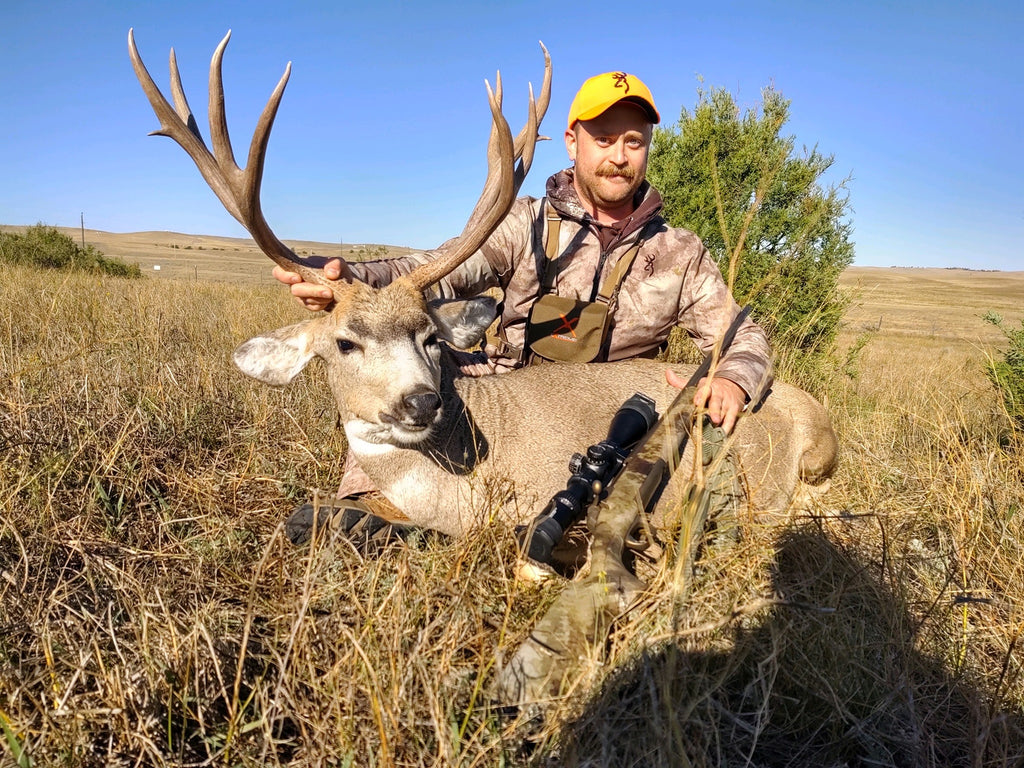
Chris Nyhus / Chris Nyhus Outdoors
Chris is a Pro-Staffer from Wisconsin and a Team Hunter for The Break TV on the Pursuit Channel.