Simple Tips to Prepare for Summer Trail Camera Scouting: Part 2
Part 2: Getting Your Trail Cameras in the Field
In Part 1 of this blog, I covered taking an inventory of your trail cameras and accessories so you know how many of both that you may need to scout for the upcoming deer season. Now that you have a better idea, it’s time to get those trail cameras out and put them to good use! But before you hang your trail cameras, consider these simple tips.
Once you’re ready to put your trail cameras out, make sure to put fresh batteries and SD cards in them before even heading out, so you’re spending less time in the heat and less time contaminating the area with your scent – something that avid deer hunters need to be especially cautious of.
And speaking of scent control, consider investing in a cellular trail camera, like the Browning Defender Wireless. Being able to remotely collect deer information without even putting your scent in the area is one of the biggest benefits to cellular cams. Plus, they are also convenient if you’re not close to your hunting property or if you have limited access to it.

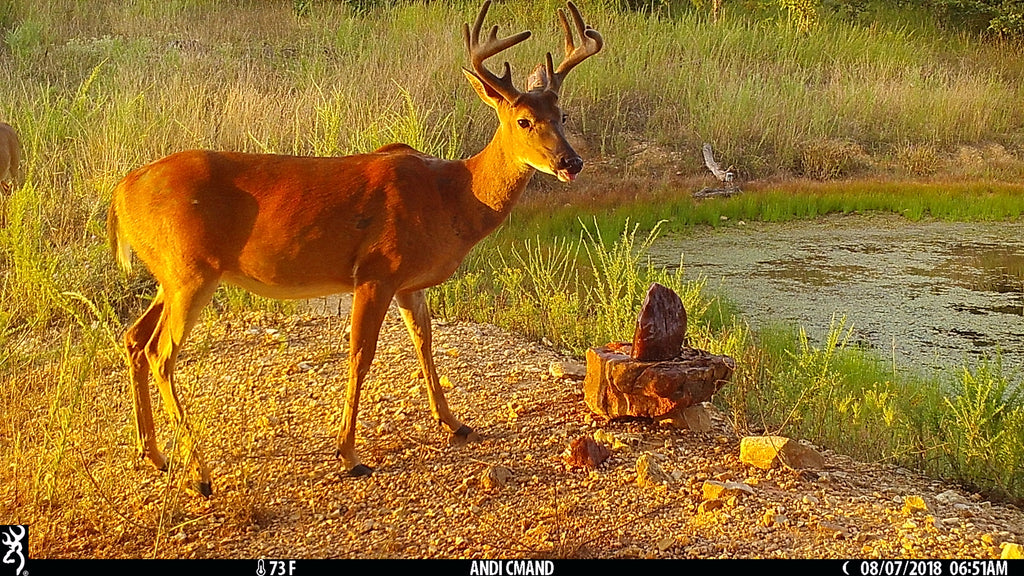
This tip is super simple but is often overlooked or just simply forgotten about: Make sure to set the time and date on your trail cameras! Once I get the batteries and SD card in my new trail cameras this is always the first thing that I do. Having the wrong time and date on your trail cameras doesn’t help in your scouting efforts and it can often even disqualify you from entering great images in some trail camera contests, as they often require the time stamp to be correct.

Consider your trail camera settings for each camera location. For example, when scouting over heavily accessed food sources and/or mineral sites, you may want to set your trail camera on photo mode - not video or Time-lapse mode - since they tend to stay over the food or mineral for long periods at a time. This will quickly eat up the space on your SD Card if you don’t have one large enough to hold that many images before you’re able to check it. The same is true for setting the photo delay (the time between taking images). Considering the same situation above of placing a trail camera over food sources/mineral locations, instead of setting the photo delay to 5 seconds, setting it to 1 or 3 minutes may be a better option here.

And last, make sure to bring branch snippers, limb saws or a weed-eater along with you when setting your trail cameras. You never know where you may find a great trail camera location but weeds, brush or limbs may be in the way and ruin your images or videos.
These tips are all simple, but effective ways to get great trail camera images this summer leading into fall deer season. Happy scouting!
By Andrea Rothove

Andrea Rothove is a Pro-Staffer from Missouri who enjoys hunting deer, turkeys, and upland birds. She is also the founder of the Huntress View, an organization formed to help strengthen the ever growing community of women hunters.